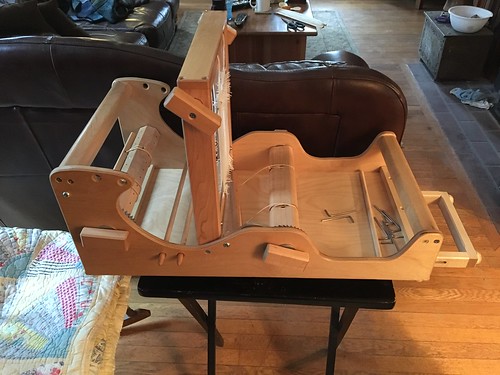
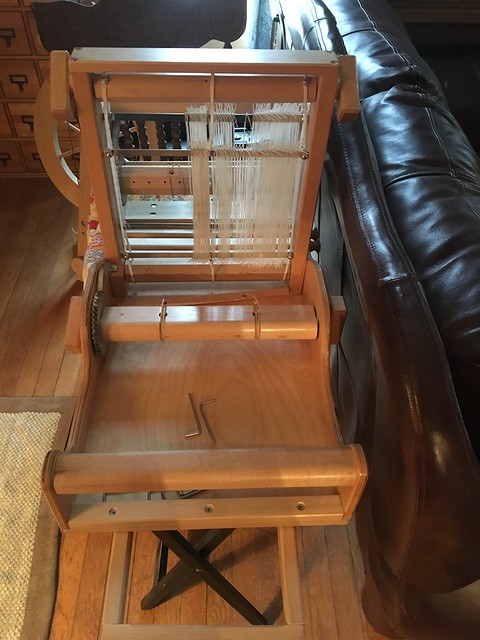
Warping and dressing warp faced band on a Gilmore Big Wave loom
Posted by Lanea on Monday, February 19th, 2018
Some friends have asked questions about my favorite loom recently, so I figured an explanatory post was due. I have a Gilmore Big Wave loom, which I bought several years ago.
It was significantly more expensive than my previous inkle loom, but in has a number of features that make weaving much easier on my poor achy hands, so I think it was worth every penny. It is structured much like many floor looms, which makes it stronger than most open-sided inkle looms. It has a warp beam and a cloth beam, and both are tensioned via those self-braking gears. It holds beautifully even tention.
Those texsolv heddles seem to last forever, but I have extras if they wear out. Using this method to change sheds is much, much easier on my hands than any similar loom I’ve worked on in the past.
This loom obviously isn’t set up for a continuous warp, so I have to warp on a warping board and transfer the warp to the loom to weave. That allows for a much longer and/or wider warp, so it opens up a lot of possibilities my old loom didn’t offer.
To begin a project, I gather supplies and review some notes so I can begin plotting a draft.
I’m making a tone on tone white belt for a friend, so I plot out some color options in the best light available to me, and then design a warp on the board. Rather than tying the warp, I secure it with some clips. I am going to transfer it to the loom immediately, so I don’t bother chaining the warp. You can see I have the cross clipped in two spots, just in case. This warp will make a band that’s about three inches wide.
My current habit is to load the warp onto the warp beam and then sley the heddles as if they were a reed, but I am sure you could dress it the opposite way.
I’ve pulled the warp off the board and just draped it over the heddle tower, separating out the two arms of the warp cross. The loom came with two maple dowels to help dress the warp and cloth beams in whichever way you prefer. It also comes with two lease sticks and has holes drilled to use them or store them–I generally only bother with one for these bands.
Here, I’ve begun winding the warp onto the warp beam. The loom also comes with these pins that help keep the warp from spreading out too far on the beam and generally allow you to wind on neatly. I’m using some scrap cardboard as warp separators. I wind on carefully, combing the warp with my fingers and attempting to maintain even tension as I go.
Once the warp beam is dressed, I move to the front of the loom, trim the ends of the warp even, and dress the heddles in whatever pattern I’ve come up with. When I do these patterned white on white bands, good lighting is vital for this task. I thread the heddles and tie off using larks head knots, which is pretty standard.
And then I weave until I get too close to the end of the warp for things to work happily.
Filed in Celtic,tutorials,weaving | No responses yet


