Reworking a vintage fur
Posted by Lanea on Thursday, November 3rd, 2016
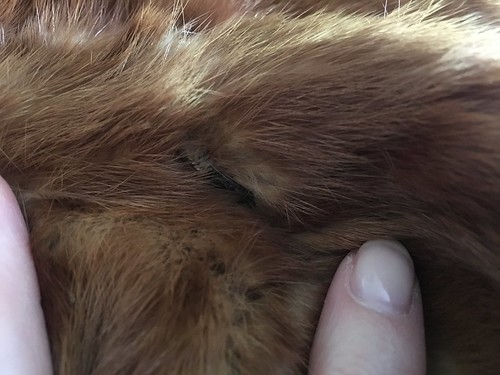
Throughout history, people have worn a lot of fur. When I make clothing for reenactment, I like to get as close as I can to the original pieces, but work within a budget and keep some modern sensibilities in mind. I don’t object to using leather or hides from herd animals, particularly those we use for meat, but I’m a little hesitant about hunting species like foxes. We need foxes and other predators, and I’d like the foxes who are alive today to do their foxy work out in the wild. BUT vintage furs are often readily available if you know where to look, and they can be easily reworked for use in reenactment. Before you buy a vintage fur, look it over closely for signs of wear and make sure that it’s not too far gone to use. A lot of old fur preservation techniques used chemicals that made the skin dry and delicate over time, and things we wear for reenactment need to be pretty hearty to last more than a few events. If you find any holes or worn spots, make sure you don’t overpay for the item.
I got this red fox jacket at an estate sale a couple of years ago. It’s in decent condition, but it’s far from pristine, and the styling screams “Jackie O!” I don’t think that’s bad, but I do think it’s fair to say that reworking this into a different garment or two isn’t a crime against fashion.

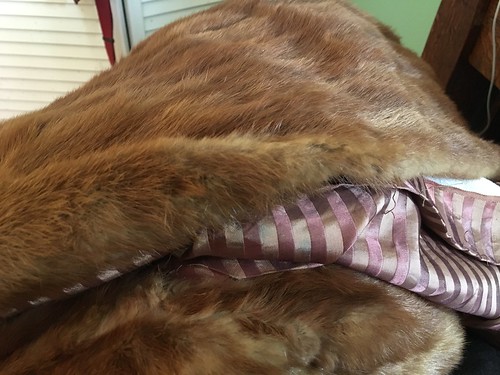
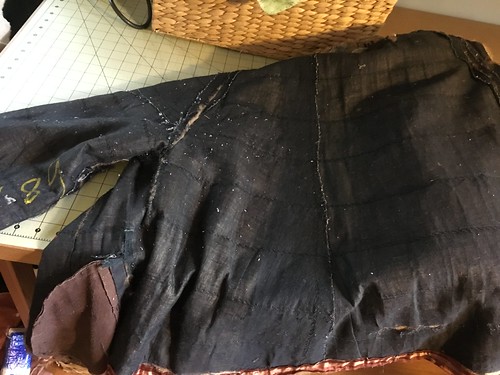
I started by removing the button and button loop, and then the lining. Linings are generally just whip-stitched into furs, so stripping out the lining only took about ten minutes. I was gentle as I worked though, since this jacket is made of skins that have been pieced together and it already had a few small holes in it.
When I got to the cuffs, I removed the horizontal bands of fur, since the sleeve shape and cuffs seem like one of the things that most clearly dates the jacket to the 1960s.
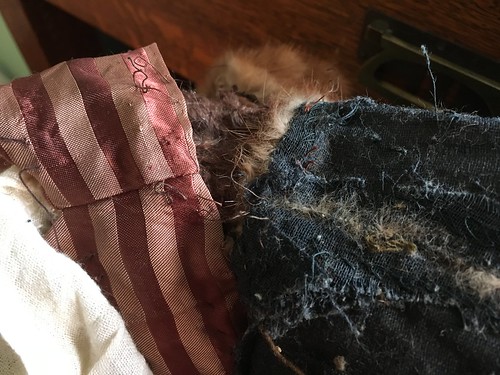
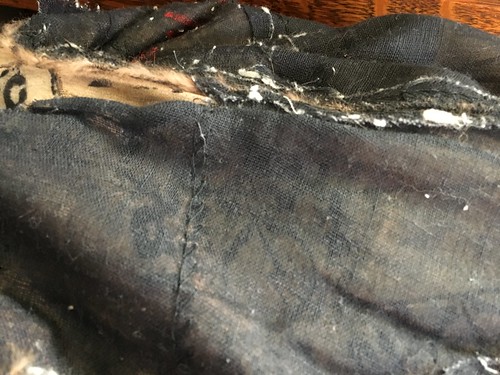
You’ll notice that this jacket has a reinforcing fabric inside each of the fur pieces. That seems to be pretty common, and it helps lend some strength to the pelts, so I left it in place.
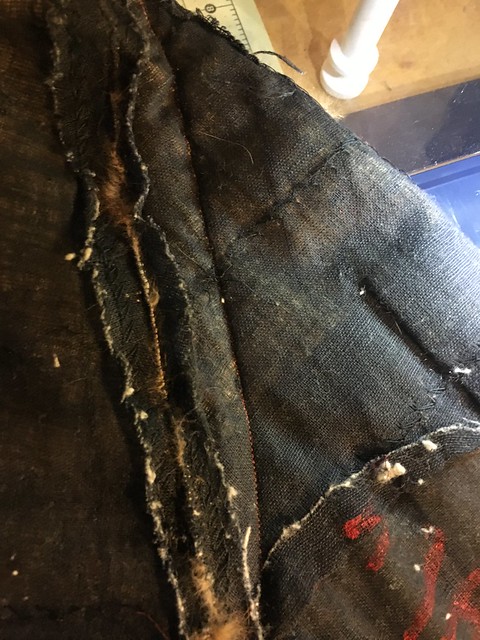
Next, I found spots that would need repair. In this jacket, there were two weak spots on either side of the neck were seams come together. I am lucky enough to have a really great sewing machine, so I just ran a quick line of stitches in each spot that needed repair. If your machine can’t handle this thickness or if you’d rather work by hand, a bit of hand stitching would also work. A thimble would be helpful, since any sort of leather sewing can be hard on your hands if you’re not used to it.
Once the holes were repaired, I gave some consideration to the final shape I was shooting for. Even if I took in the sleeves of this little jacket, I think it would still look very 1960s. That sort of thing is seriously hard to overcome when you’re shooting to rework a modern garment to look like something from a very different part of history. I have seen evidence of sheepskin and leather jackets and vests in early period garments, but not fox fur. I also considered the pockets. Despite what a lot of us heard for years and years, the Huldremose find shows us that pockets did exist in the ancient world. But these pockets are slash pockets towards the front of the jacket where some pelts come together, and the pockets are made of flannel and pretty ratty . . . and I just don’t know. They make sense on a jacket, but less so on a capelet. Right–the pockets are doomed. So are the sleeves. Unfortunately the sleeves are raglans rather than set-in sleeves, so the shoulders will require some shaping to lay correctly. It’s not too daunting, but it’s worth some thought and measurements.
This fur is thin enough that I can pin it like normal fabric, so I started by pinning off the sleeves and pockets and trying it on to see how things laid. Once I had a shape I liked, I got to stitching. I tried it on again and once I got all of the lines as smooth as I wanted, I cut off the sleeves and pockets. I’ll save the sleeves for other projects. I predict a fox fur hat.
And here is the restructured fur.

Now for a lining. Slick linings make sense for coats but not for capelets–I hate it when capelets slide all over the place, so I opted for something textured and warm. Since I just happen to have some vintage hand-woven Scottish wool about the same age as the fur in a beautiful green, I went with that.

I experimented on a scrap to see how obvious machine stitching would be, and the answer was “completely, terribly obvious.” So I opted to hand-sew the lining into place. I pinned it into place along the front edges and neck and sewed those sections first, and refitted and sewed the hem last.
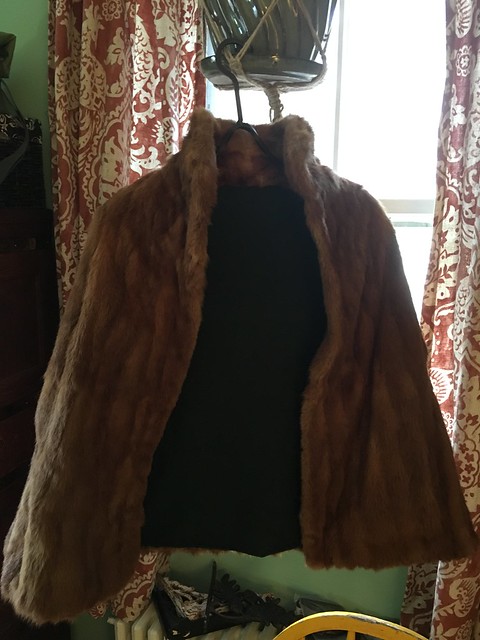
And done. I need to consider a closure, but I have a number of brooches and chains that should work. Or I could stretch a strip of finished fox fur between the sides and pin that in place with brooches. Either way, a damaged, dated jacket is now wearable and I have scraps of striped silk and fox fur to use for another project. Win-win.
Filed in Celtic,sewing | One response so far

KnittingKittenson 19 Nov 2016 at 10:36 am 1I love this- what a treasure you made. I’ve got an old blond colored fur stole and am thinking of reworking pieces of it into a cowl with some sort of closure. I am not sure if I’ll do it myself or bring it to my local furrier. I’m a bit nervous about doing it myself because I don’t have your sewing skills but either way you’ve inspired me to do something. Great job Lanea!